
Easy Gluten-Free Macarons Recipe: Master the Art of French Cookies
If you’ve ever admired those delicate, colorful French macarons in bakery windows and wondered if you could make them at home gluten-free, the answer is a resounding yes! Macarons are naturally gluten-free since they’re made with almond flour rather than wheat flour. This makes them the perfect treat for anyone following a gluten-free lifestyle, and the best part? They’re easier to make than you might think.
Macarons have a reputation for being finicky and temperamental, but I’m here to tell you that with the right ingredients and a bit of patience, you can create beautiful, professional-looking macarons in your own kitchen. In this guide, I’ll walk you through everything you need to know to make these impressive yet straightforward treats.
Why Macarons Are Naturally Gluten-Free
The magic of macarons lies in their primary ingredient: finely ground almond flour. Unlike traditional cookies that rely on wheat flour as their base, macarons use almond flour combined with powdered sugar to create their distinctive delicate, airy texture. This means that by default, macarons are gluten-free, making them an excellent choice for those with celiac disease or gluten sensitivity. If you want to learn more about gluten and its effects on health, Mayo Clinic provides comprehensive information about celiac disease.
However, it’s crucial to ensure that all your ingredients are certified gluten-free, particularly if you’re making these for someone with celiac disease. Cross-contamination can occur with shared equipment or non-certified products, so always verify your almond flour, powdered sugar, and food coloring are labeled gluten-free.
Essential Ingredients You’ll Need
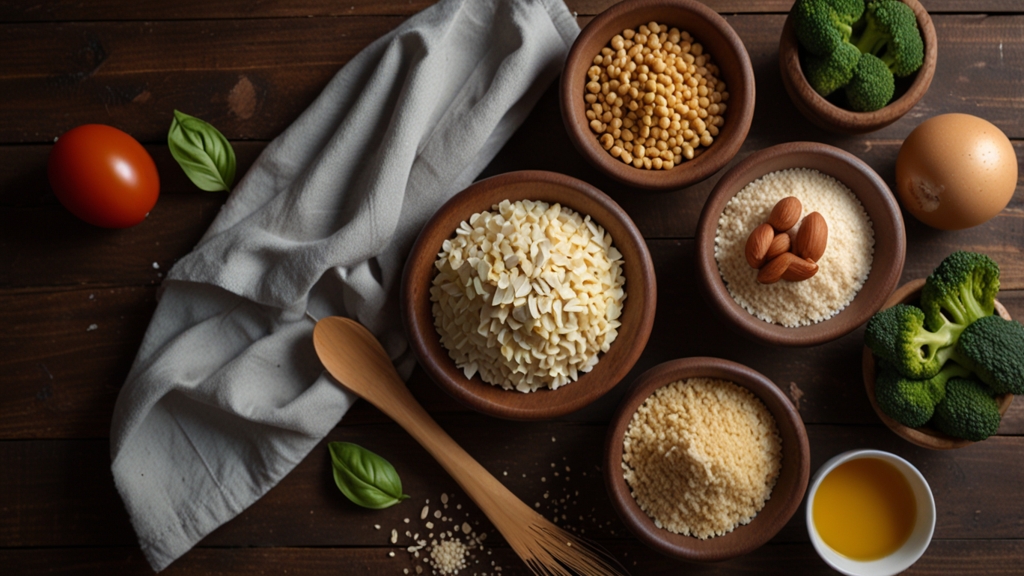
- Almond flour: Use finely ground, blanched almond flour for the best results. This creates the smooth texture macarons are known for.
- Powdered sugar: Sift it well to remove lumps and ensure a smooth batter.
- Egg whites: Room temperature eggs are essential for proper meringue formation.
- Granulated sugar: Used to make the meringue stiff and stable.
- Vanilla extract or other flavorings: Optional but recommended for added depth.
- Food coloring: Gel food coloring works best as it won’t thin your batter like liquid coloring would.
- Filling of your choice: Buttercream, ganache, jam, or cream cheese frosting all work wonderfully.
Step-by-Step Instructions
Preparation: Begin by preheating your oven to 300°F (150°C). Line two baking sheets with parchment paper or silicone baking mats. Having everything prepared before you start ensures a smooth process and prevents your meringue from deflating while you’re scrambling to find a baking sheet.
Dry Ingredients: Measure out 100 grams of almond flour and 100 grams of powdered sugar. This precision is important—using a scale rather than measuring cups will give you more consistent results. Sift these ingredients together twice into a large bowl. This removes lumps and helps incorporate air, which is crucial for achieving those characteristic smooth, domed macaron shells. Set aside.
Create the Meringue: Separate three large egg whites into a clean, dry bowl. Any trace of yolk or grease will prevent proper whipping. Using an electric mixer on medium speed, beat the egg whites until soft peaks form, about one minute. While continuing to beat, gradually add 25 grams of granulated sugar. Increase the mixer speed to medium-high and continue beating until stiff, glossy peaks form. This usually takes another two to three minutes. The meringue should look like shiny, thick clouds that hold their shape perfectly.
Combine Ingredients: Add a few drops of gel food coloring (if desired) and any flavoring extract to the meringue. Gently fold the almond flour mixture into the meringue using a spatula. This step requires care—you want to combine everything thoroughly without deflating the meringue. Use a folding motion rather than stirring, going around the sides and bottom of the bowl. The batter is ready when it flows slowly and resembles thick lava. This usually takes about 50 to 100 folds.
Pipe the Shells: Transfer the batter to a piping bag fitted with a round tip (size 11 or 12 works well). Hold the piping bag perpendicular to your prepared baking sheet, about half an inch above the surface. Squeeze out small circles about 1.5 inches in diameter, then lift the piping bag straight up. The batter should settle slightly and form smooth, flat shells. Space them about an inch apart.
The Resting Step: Let the piped shells sit at room temperature for 15 to 30 minutes. During this time, a skin will form on the surface, which is essential for developing those characteristic “feet”—the frilly base that forms during baking. You can test if they’re ready by gently touching one shell; it should feel dry to the touch.
Bake to Perfection: Place the baking sheets in your preheated oven for 15 to 18 minutes. The macarons should develop little feet and the shells should look set but not colored. They should lift cleanly off the parchment when done. Remove from the oven and let cool completely on the baking sheet before attempting to remove them.
Practical Tips for Success
- Room temperature ingredients are crucial. Leave eggs out for at least one hour before using.
- Invest in a kitchen scale for accurate measurements. Baking is chemistry, and precision matters.
- Don’t skip the sifting step. This removes lumps that can create cracked, bumpy shells.
- If your batter is too thick, you’ve folded too much. If it’s too thin, you haven’t folded enough. The consistency should be like thick lava.
- Oven temperature is critical. Use an oven thermometer to verify your oven’s accuracy.
- Practice makes perfect! Your first batch might not be flawless, and that’s completely okay.
Filling Your Macarons
Once your shells are cool and completely set, it’s time to add filling. Match shells of similar sizes and pipe or spread your chosen filling onto the flat side of one shell, then top with another shell to create a sandwich. Some popular gluten-free options include chocolate ganache, salted caramel buttercream, fresh fruit coulis mixed with whipped cream, or simple vanilla buttercream.
Storage and Serving
Unfilled shells can be stored in an airtight container at room temperature for up to one week or frozen for up to three months. Filled macarons taste best after the flavors have melded together, which happens after sitting in the refrigerator for a few hours or overnight. Enjoy them within three days of filling for optimal freshness and texture.
Making gluten-free macarons is an achievable goal for home bakers at any skill level. With patience, practice, and these clear instructions, you’ll soon be creating restaurant-quality macarons that everyone will love. Happy baking!