The Ultimate Guide to Homemade Gluten-Free Granola
Making your own granola at home is one of the easiest and most rewarding kitchen projects, especially if you’re navigating a gluten-free lifestyle. Store-bought granola can be expensive, often packed with unnecessary additives, and sometimes even contains hidden gluten in unexpected places. By creating your own granola in your kitchen, you gain complete control over every single ingredient that goes into your breakfast bowl.
Whether you’re newly diagnosed with celiac disease, managing non-celiac gluten sensitivity, or simply exploring gluten-free options, homemade granola is a delicious solution that tastes infinitely better than most commercial varieties. Plus, your kitchen will smell absolutely amazing while it bakes!
Why Make Granola at Home?
There are countless reasons to abandon those pricey boxes of granola and start making your own:
- Cost savings: Homemade granola costs approximately one-third of the price of quality store-bought versions
- Complete ingredient control: You choose exactly what goes into your bowl, avoiding mystery ingredients and potential gluten contamination
- Customization: Create flavors that match your preferences, whether you love chocolate, coconut, berries, or savory variations
- Freshness: Enjoy crispy, fresh granola instead of stale cereal that’s been sitting on shelves for months
- No hidden gluten: Many commercial granolas contain malt flavoring, modified food starch, or other gluten-containing additives
Essential Ingredients for Gluten-Free Granola
The beauty of granola is its simplicity. You need just a few basic components to create something spectacular:
The Base
The foundation of any great granola is rolled oats. This is crucial: always use certified gluten-free oats. While oats themselves don’t contain gluten, they’re often cross-contaminated during processing. According to Mayo Clinic, certified gluten-free oats are safe for most people with celiac disease. Aim for old-fashioned rolled oats rather than instant oats, which can make your granola mushy.
You can also add other gluten-free grains and seeds like quinoa flakes, amaranth pops, sunflower seeds, pumpkin seeds, or sesame seeds. These additions provide extra nutrition and interesting texture.
The Binder
A binding agent helps your granola clump together beautifully. Use either coconut oil, almond butter, or maple syrup. Coconut oil creates the crispiest clusters, while nut butters add richness and protein. Many people use a combination of both.
The Sweetener
Maple syrup, honey, or coconut sugar all work wonderfully. These natural sweeteners caramelize during baking, creating that irresistible golden color and deep flavor. You need just enough to coat the oats without making the mixture soggy.
Flavor Boosters
This is where you get creative! Vanilla extract, cinnamon, nutmeg, sea salt, and ginger are classic choices. You can also add unsweetened cocoa powder, instant coffee, or cardamom for unique variations.
Mix-ins
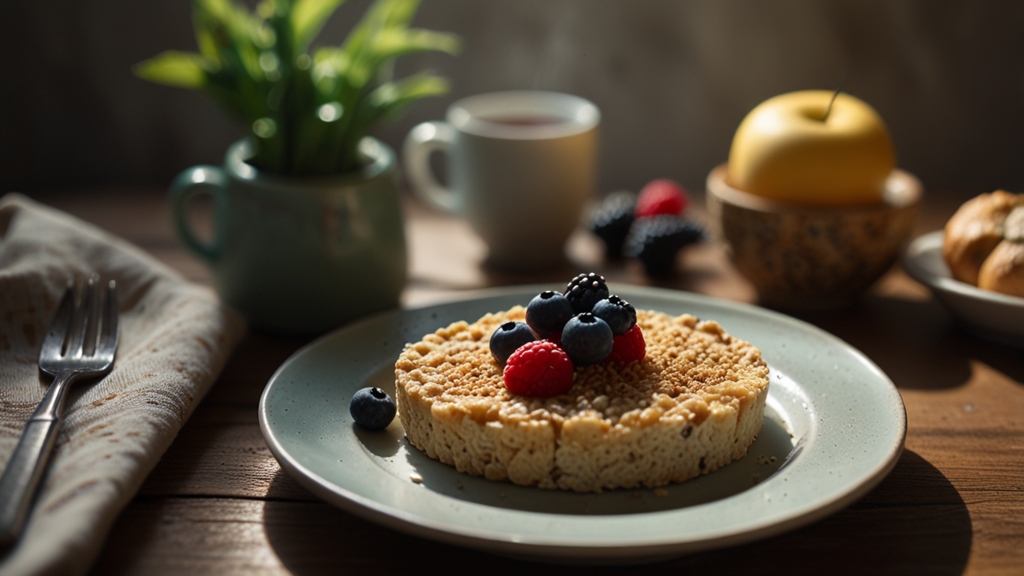
After baking, fold in dried fruits like cranberries, raisins, apricots, or blueberries, plus chocolate chips, coconut flakes, or chopped nuts. Always add these after cooling to preserve their texture.
Simple Homemade Gluten-Free Granola Recipe
Ingredients
- 3 cups certified gluten-free rolled oats
- 1 cup raw almonds or mixed nuts, roughly chopped
- ½ cup unsweetened coconut flakes
- ½ cup pumpkin seeds
- ⅓ cup coconut oil, melted
- ⅓ cup pure maple syrup
- 2 tablespoons almond butter or tahini
- 2 teaspoons vanilla extract
- 2 teaspoons ground cinnamon
- ½ teaspoon sea salt
- ¼ teaspoon ground nutmeg
- 1 cup dried cranberries or your preferred dried fruit (added after baking)
Instructions
Step 1: Prepare Your Workspace
Preheat your oven to 325°F (160°C). Line two large baking sheets with parchment paper. This prevents sticking and makes cleanup effortless. Having everything prepped ensures you won’t miss a step while the oven preheats.
Step 2: Mix Dry Ingredients
In a large mixing bowl, combine the oats, chopped nuts, coconut flakes, pumpkin seeds, cinnamon, sea salt, and nutmeg. Stir everything together thoroughly, making sure the spices distribute evenly. This step is important because it prevents spice clumping.
Step 3: Create the Wet Mixture
In a separate small bowl, whisk together the melted coconut oil, maple syrup, almond butter, and vanilla extract. Mix until completely smooth and well combined. Don’t skip the whisking—this creates an even coating.
Step 4: Combine Everything
Pour the wet mixture over the dry ingredients and stir vigorously with a wooden spoon or sturdy spatula. You want every oat and nut coated in the sweet, oily mixture. This typically takes 2-3 minutes of good stirring. Don’t be afraid to really work it together.
Step 5: Spread and Bake
Divide the mixture between your prepared baking sheets, spreading it in an even single layer. Bake for 30-35 minutes, stirring every 10 minutes for even browning. The granola should be golden and fragrant when done. The exact timing depends on your oven, so trust your eyes and nose!
Step 6: Cool Completely
This step requires patience but is absolutely essential. Let the granola cool on the baking sheets for at least 30 minutes. As it cools, it continues to crisp up and harden into beautiful clusters. If you stir it too early, you’ll break up the clusters.
Step 7: Add Your Mix-Ins
Once completely cooled, fold in your dried cranberries, chocolate chips, or any other mix-ins you prefer. Transfer to an airtight container.
Practical Tips for Success
- Don’t skip the cooling period: Patience creates crunch. Disturbing the granola while warm prevents proper cluster formation
- Stir frequently while baking: This ensures even browning and prevents burning on the edges
- Use quality ingredients: Since you’re making granola with just a handful of components, each one matters
- Store properly: Keep granola in airtight containers at room temperature for up to two weeks, or freeze for longer storage
- Watch the edges: The edges and corners of your baking sheet will brown faster, so stir extra thoroughly
- Experiment fearlessly: Try adding maple bourbon